
Managing your web space is one thing you have to look for as a site owner. You don’t want to make your homepage a little too cramped up for your viewers afterall. That’s why in choosing which tools to support your site, you need to put into consideration how efficient they are and if they take too much space. A widget may outweigh its usefulness if it’s way too large for your site.
With Chatwing [tp lang=”en” only=”y”]chat software[/tp][tp not_in=”en”]chat software[/tp], you don’t have to worry about anything. This chatting tool is very efficient, can be embedded in almost any site and if you wanted to, it won’t take up to much space. As a supporting tool, it can provide your viewers a place where they can directly reach out to you and vice versa, via live chat.
Below are the procedures you need to follow to successfully create and embed you’re very own Chatwing chatroom.
Step 1: Register
Before anything else, you need to have a Chatwing account. Go to Chatwing’s homepage – you can find the registration form and fill it up there. Below the form are two boxes you need to check before submitting it, so do that too.

Step 2: Create the Chatroom
This part is very easy. Once you’re finished registering, you’ll be automatically redirected to the Dashboard page. To create a chatroom, simply press the Create chatbox button.

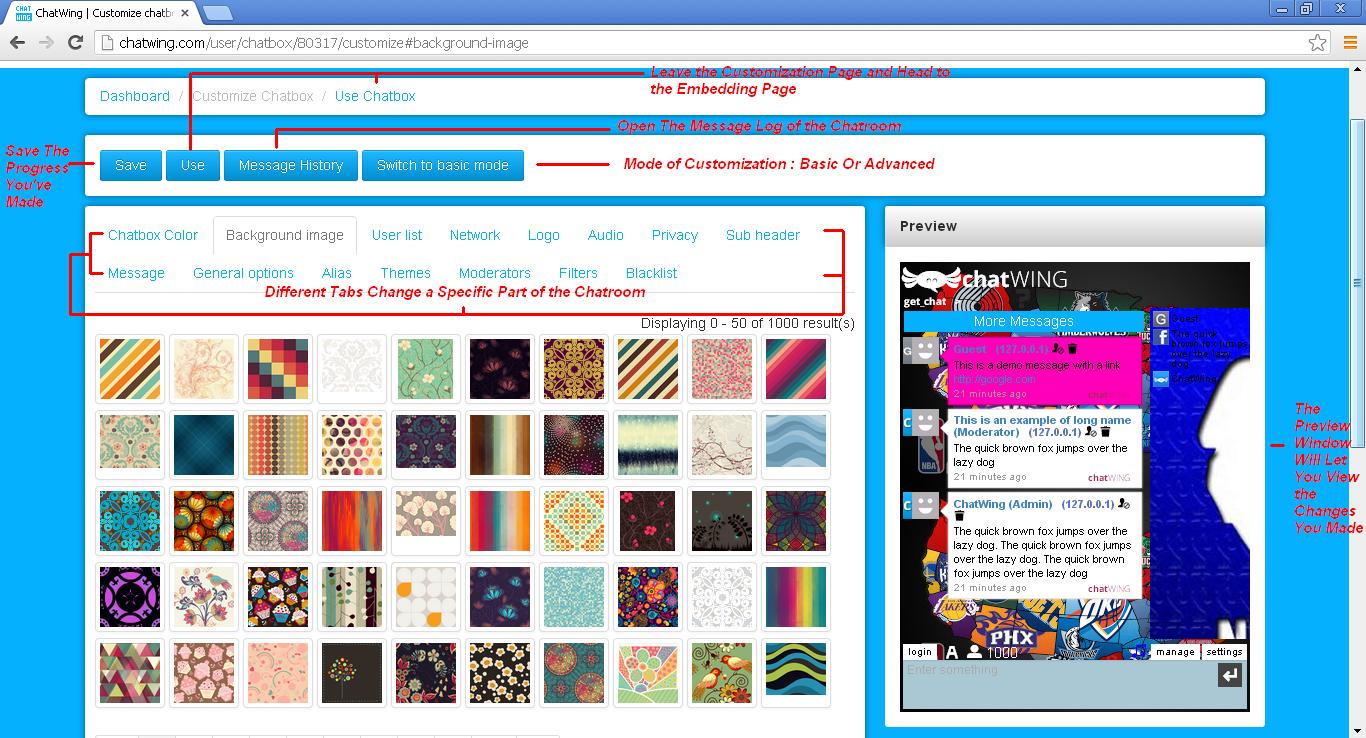
Step 3: Modify the Chatroom
You’re now at the Customization page. At this step, you don’t have to follow any procedures. That’s because it’s up to you how you’re going to do it. In a nutshell, you’re going to customize and change the appearance of your chatroom to make it more suitable for your site.
The customization options are divided into tabs. As you browse and change the settings on each tab, you need to press the Save button to implement those changes. There’s a preview window on the side which shows the current appearance of your chatroom.
After customizing, press the Use button on top of the Customization panel.
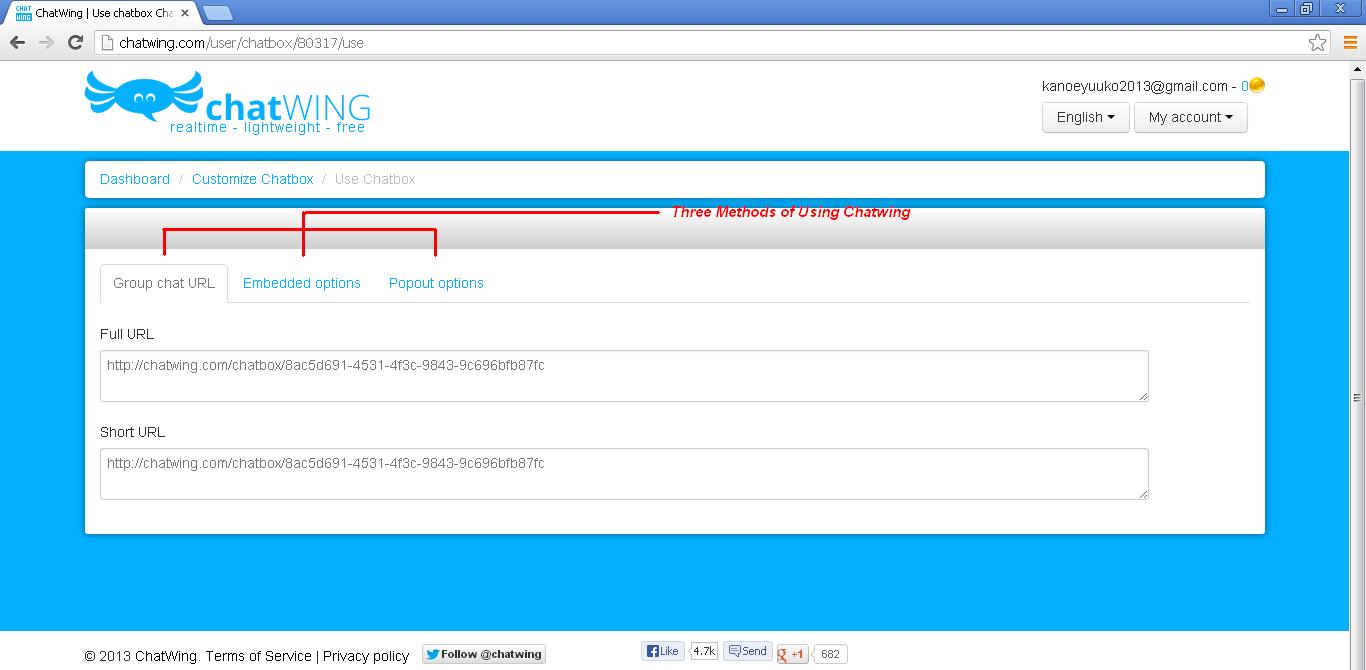
Step 4: Embedding – Popout Options
In the Embedding page, you can see three tabs – Group Chat URL, Embedded Options and Popout Options. To embed the chatroom in a way that doesn’t take up too much space, you need to go with Popout Options.
In this method, instead of the chatroom, a popout icon will be embedded into your site. To use the chatroom, they need to click it – the chatroom will show up in another window. That’s why, before embedding it, you have to make sure the icon can be noticed by your viewers – you can do that here.
Before embedding the icon, you can customize it inside the Popout Options tab. You can also change how big or small the icon will be, so if you think it’s still too large or small, then you’re allowed to change it.

When you’re done customizing it, search for its HTML codes below. Open your site and paste the codes at the place where you want the icon to show up.

Save the changes you’ve made and open your site again. The icon should be there. Click on it to make sure it works.

Managing the Chatroom
Chatwing is very easy to manage. As the admin, you can kick out anyone who tries to be a nuisance while chatting inside the chatroom. This is very effective against spammers because you can also delete all their messages with one click.
Making your users use it is even easier. With their social media accounts, they can easily join in the conversation. They can also join in anonymously by signing in as Guests too. And the [tp lang=”en” only=”y”]chatroom[/tp][tp not_in=”en”]chatroom[/tp] is big enough for everyone in your site to fit inside – you don’t have to worry about it getting full.
Getting this chatting tool on your site will not only help you in providing customer support, it will also raise the interactivity within your site which is essential in SEO. The chatroom itself along with its features will ensure you and your viewers the best performance in providing live chat. And lastly, you’ll get all of this for free.