Making video instructional exercises quicker than working out itemized measure archives and messages, and recording tutorial videos is very useful for e-learning course creating. Video instructional exercises are simpler to track with than a thick manual or other book-based documentation and offer representatives more prominent authority over their learning with the capacity to rewind and replay the video-on-request. In addition to that, learning from home is made easy due to this e-learning strategy by the various institutions and for that, there must be a toolkit which can be useful to both teachers and students’ perspective.
Current screen recorder for pc enable everybody to transform what’s going on the PC screen into engaging or educational substance to be shared how the client sees fit. It takes a specific sparkle of imagination and inspiration (also available opportunity) to produce this perpetual substance cascade. In any case, it likewise takes the correct devices. Free arrangements can be an amazing purpose of the section for little groups or self-employed entities thinking about how screen catch stages can profit their main goal. Here comes the Wondershare DemoCreator toolkit hich is the best choice for top-notch video editors due to its screen recording and video editing capabilities. Learn more in the upcoming sections.
How to use Wondershare DemoCreator to Record Educational Videos
Meanwhile, in the era of E-courses, learners prefer the content which is attractive enough to make them stick to the course. Therefore, being a course instructor or creator, you must consider a standard so your content would be appalled by the learners. In this regard, to assist you, we recommend trying Wondershare DemoCreator for your educational video as it has a recorder as well as an editor that is embedded inside the software so you can have all the perks in a one-of-a-kind toolkit.
The best part of the DemoCreator is that it can use your multi-core processor to the full extent which will eventually improve the performance and you can record the educational video or E-courses with 120 frames per second and in some cases, even more. The most useful part is for the teachers as they can record their sessions hassle-free with this software.
Screen Recording from Teacher Perspective:
If you’re a teacher and want to save your recording for course creation purposes, then here are some of the features, being a teacher, you can get from the DemoCreator toolkit:
- You can use the screen drawing tool for your live recording so you can explain topics better. All you need to do is enable the Screen Drawing Tool slider inside the recording window:
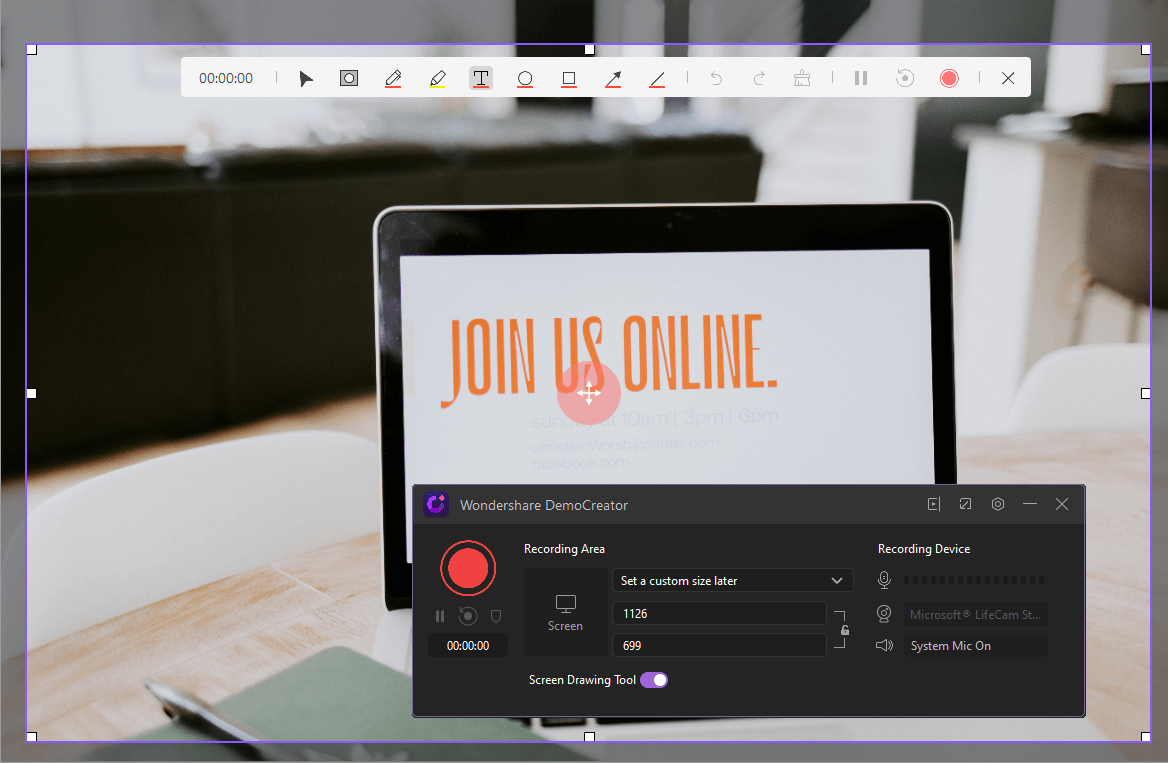
- You can eventually include your Webcam recording, Microphone audio, and the system sound while recording your session with the handy options available within the recording interface.
- You can also set the HD resolution to your recording as well as you can set up the dimension of your screen recording for a better understanding of the lessons from these menu buttons.
- If you want to select a special window for the private recording then you can do that as well just by going to the drop-down menu of the screen recorder interface and select the best option for you to lock it for the recording window automatically.
- After you’ve started your recording, you can also pause it for your break and then resume it without any anomaly just by hitting the straightforward buttons from the recorder menu screen.
How to interact with students through video:
Meanwhile being a teacher, you can always benefit from this masterpiece, here we will discuss how being a student, you can make the most use of this software toolkit. So, stick with us to find out more in the upcoming points:
- From the student perspective, you can always record your live session or E-Learning class from your end.
- You can add live screen drawing tools to your classes and meetings just for your usage.
- Meanwhile, after you’ve completed the recording, you can always make your recording stand out from the other by altering the tools of DemoCreator.
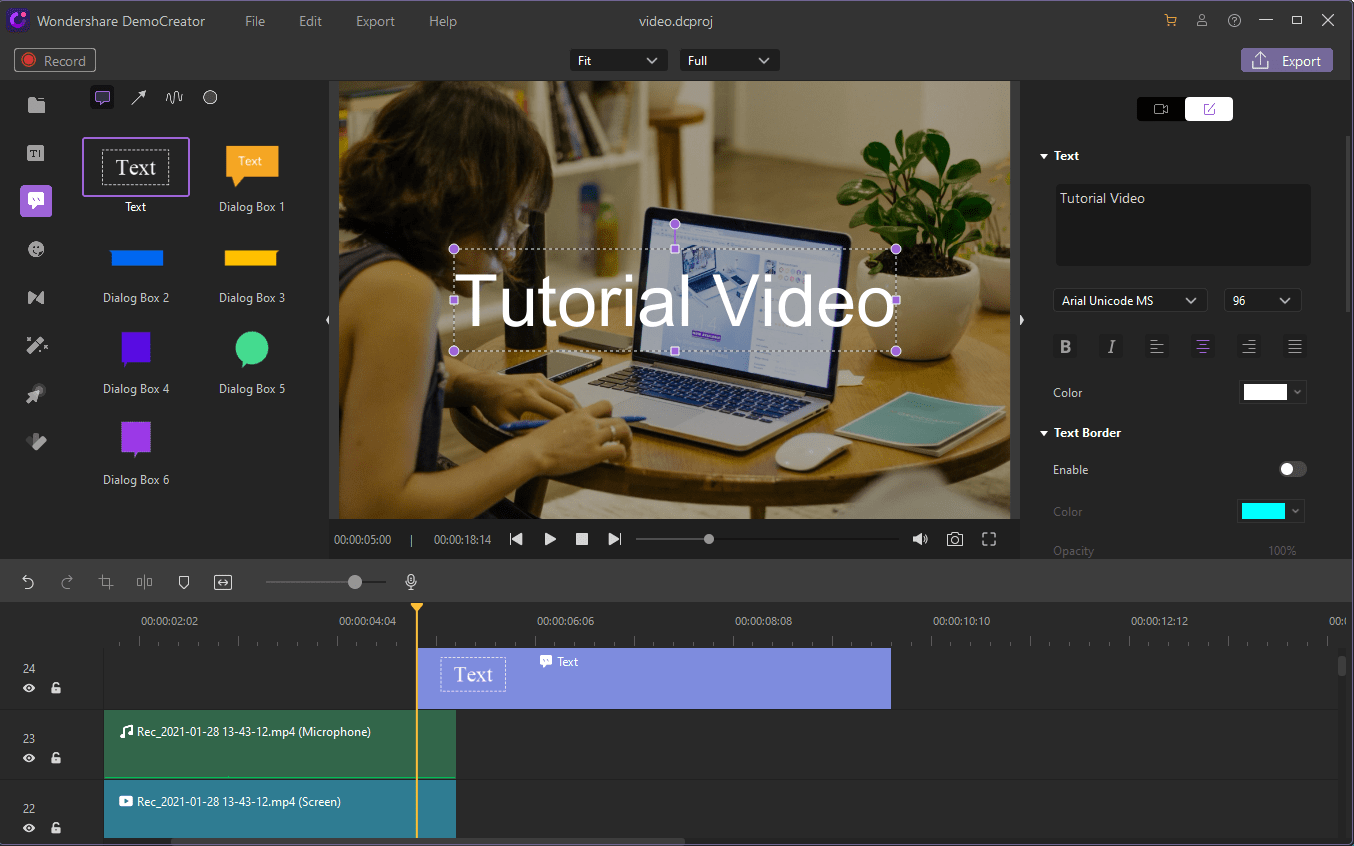
- You can perform the titles and animations to your captions with its swift and handy Captions menu bar situated on the left side of the interface.
- Now, to add the best and eye-catchy transition effects to your recorded clips, you can do that by going to the Transitions menu from the left side of the interface as follows:
![]()
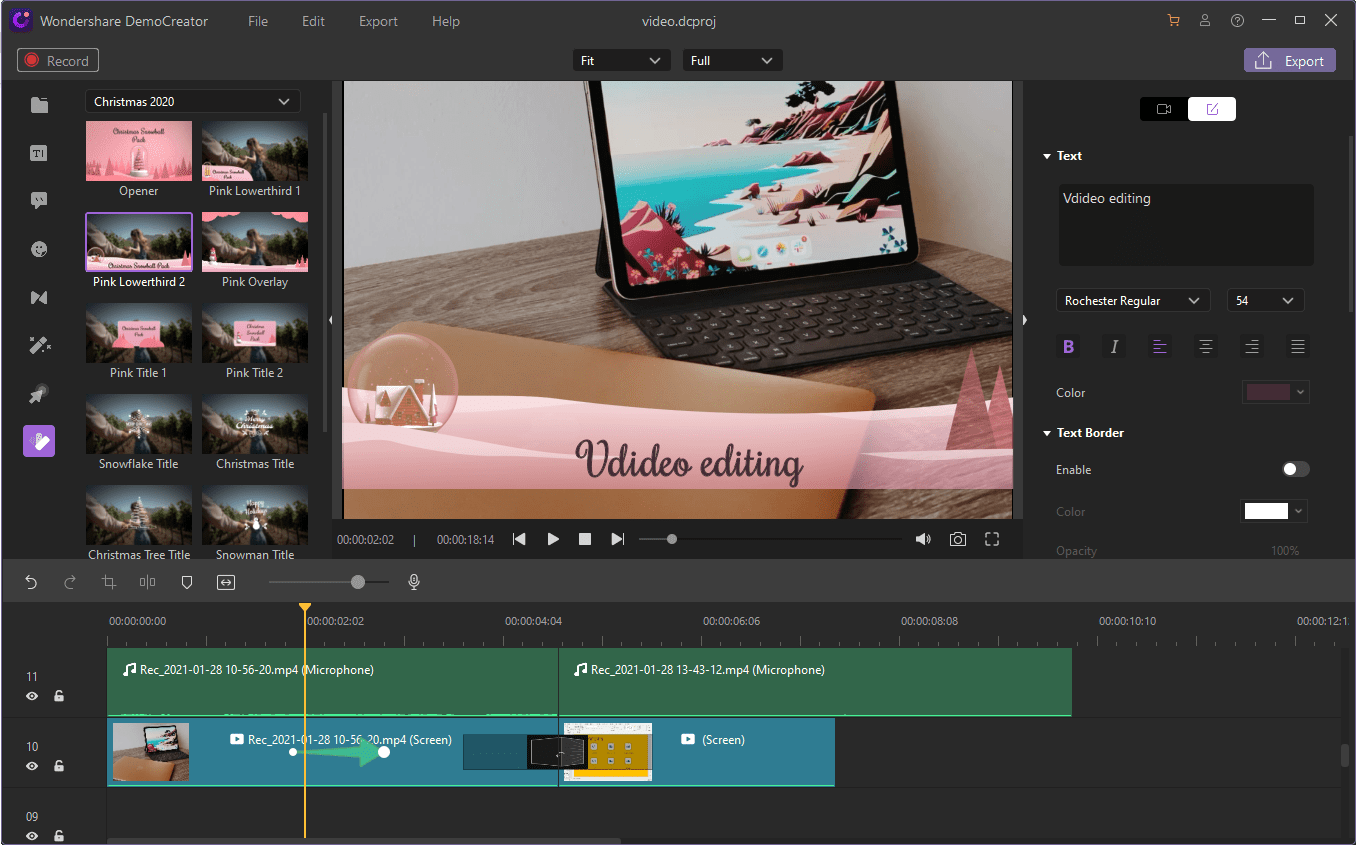
- To ease your access and editing process, Wondershare DemoCreator now has a separate template section inside the menu bar where you can select numerous templates for your recordings and drag them to the timeline to edit them accordingly.
- You can also add annotations to your recordings by going to the Annotations menu from the left bar of the screen as follow:
- If you want to add stickers to your videos then here’s the kicker for you as you can do that just by visiting the Stickers menu from the software interface.
Save your video
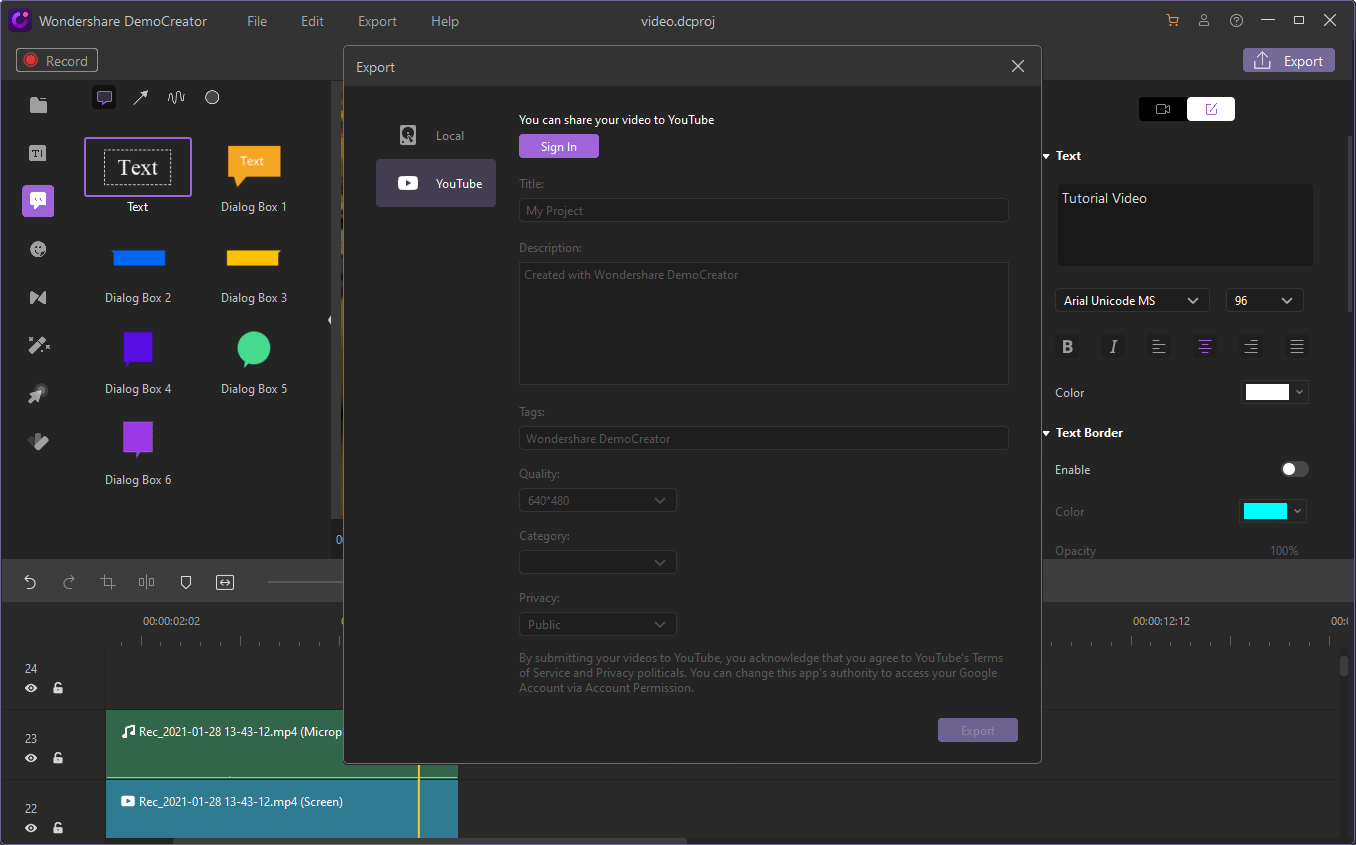
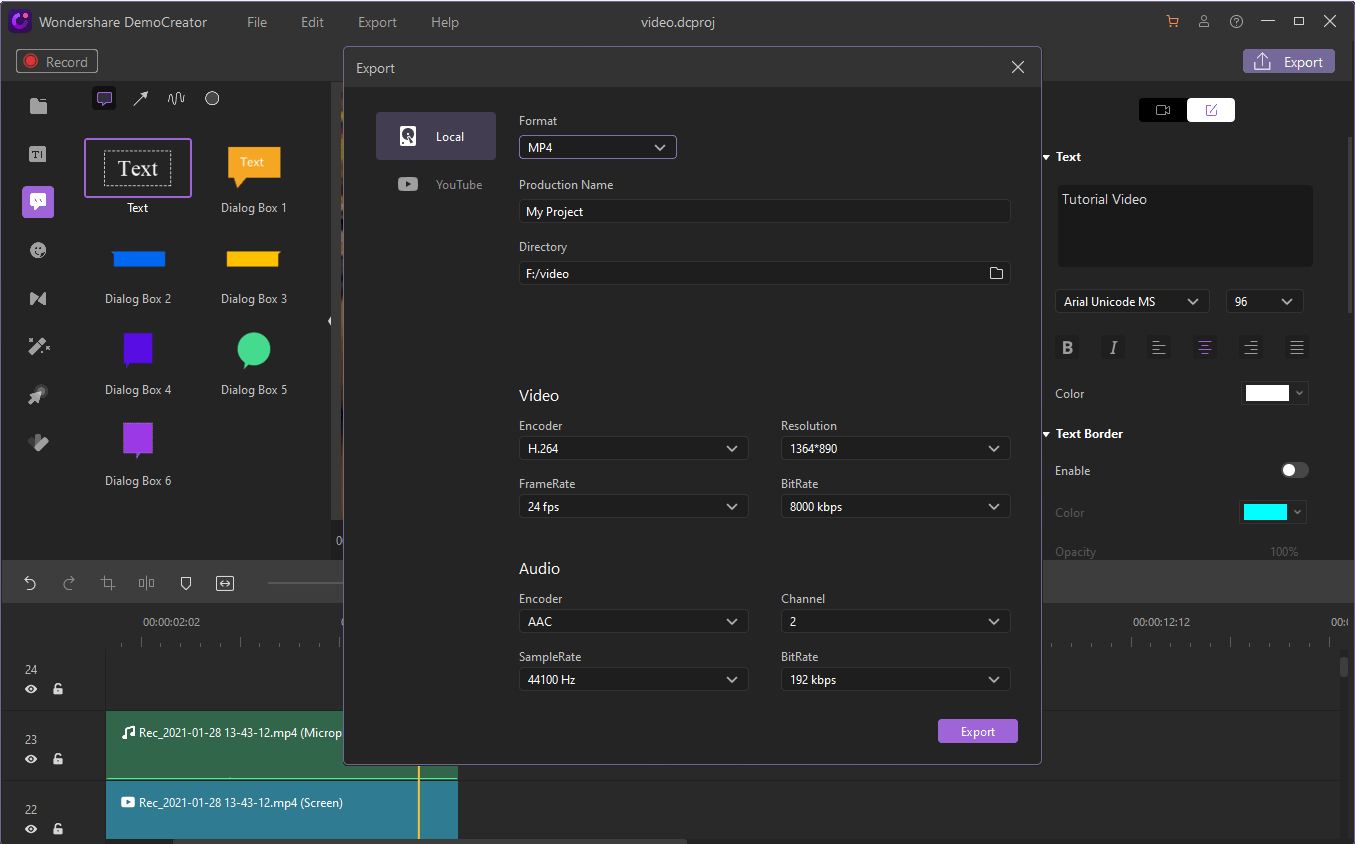
In the final steps, you can directly broadcast your recordings and editing videos to your YouTube channel as well as can save them directly to your system with the best encoding options available inside the Export window of DemoCreator. To opt for the Export window, hit the Export button at the top right corner of the screen.
From there, you can have an Export window opened to you and now you can have a variety of customizations for your video output. You can encode your video as well as the audio of the recordings to your desired format and encoder and just after you finish the customization, hit the Export button that will start saving your video to the system.
In the other step, if you want to broadcast your video to the YouTube platform, then you need to opt for the YouTube menu bar inside the export window and then Sign in to your YouTube account so you can have access to your channel and from there, you can directly share your videos with a single hit.